Highlights vs Lowlights: Key Differences
Discover the differences between highlights and lowlights, when to use each technique, and how to combine them for perfect dimensional hair color.
Blendsor
Blendsor Team

Does your client need more brightness or more depth? Do they need to lighten or add dimension? This is the fundamental question that determines whether you should apply highlights, lowlights, or both.
If you’ve worked with clients who say “I want something different but I don’t know what,” you understand the importance of mastering these two complementary techniques. Choosing wrong means a flat result or, worse, one that doesn’t flatter.
In this guide, you’ll learn exactly what highlights and lowlights are, their technical differences, when to use each, and how to combine them for multidimensional results. This article is part of our complete guide to professional coloring techniques.
What Are Highlights and Lowlights: The Fundamental Difference
Highlights are strands lightened relative to the base color. Lowlights are strands darkened relative to the predominant color. Here are their key differences:
| Factor | Highlights | Lowlights |
|---|---|---|
| Action | Lighten strands with bleach | Darken strands with dye |
| Product | Bleach + 20-40 vol developer | Permanent/semi dye + 10-20 vol developer |
| Objective | Light, shine, illuminate the face | Depth, dimension, break monotony |
| Damage | Medium-high (breaks down melanin) | Minimal (deposits pigment) |
| Maintenance | Visible regrowth every 6-8 weeks | Fades gradually, 8-12 weeks |
| Ideal for | Dark bases wanting to lighten | Flat blondes, disguising grays |
According to the Society of Cosmetic Chemists, the perception of dimension in hair depends on tonal contrast. Highlights create points of light that catch attention, while lowlights create shadows that add depth. Together, they mimic how hair naturally grows under different sunlight conditions.
Highlights: Light Strands to Illuminate
Highlights lighten hair sections using bleach or high-lift color. The goal is to create points of light that:
- Illuminate the face especially around the hairline and crown
- Add visual shine by reflecting more light
- Create the illusion of greater volume
- Bring life to dark or dull bases
Lowlights: Dark Strands for Depth
Lowlights darken sections using permanent or semi-permanent color. Their function is to:
- Add depth in naturally shaded areas
- Break the monotony of flat or uniform blondes
- Create dimension without adding more chemical damage
- Blend gray hair naturally
To master the lowlights technique in detail, visit our complete lowlights step-by-step guide.
Technical Differences Between Highlights and Lowlights
Beyond lightening vs darkening, these techniques differ in product, process, and result.
| Factor | Highlights | Lowlights |
|---|---|---|
| Main product | Bleach | Permanent/semi color |
| Chemical action | Melanin oxidation | Pigment deposit |
| Typical developer | 20-40 vol | 10-20 vol |
| Potential damage | Medium-high | Minimal |
| Duration | Permanent (grows out) | 6-8 weeks visible |
| Maintenance | Visible regrowth | Fades gradually |
| Product cost | Higher (bleach) | Lower (color) |
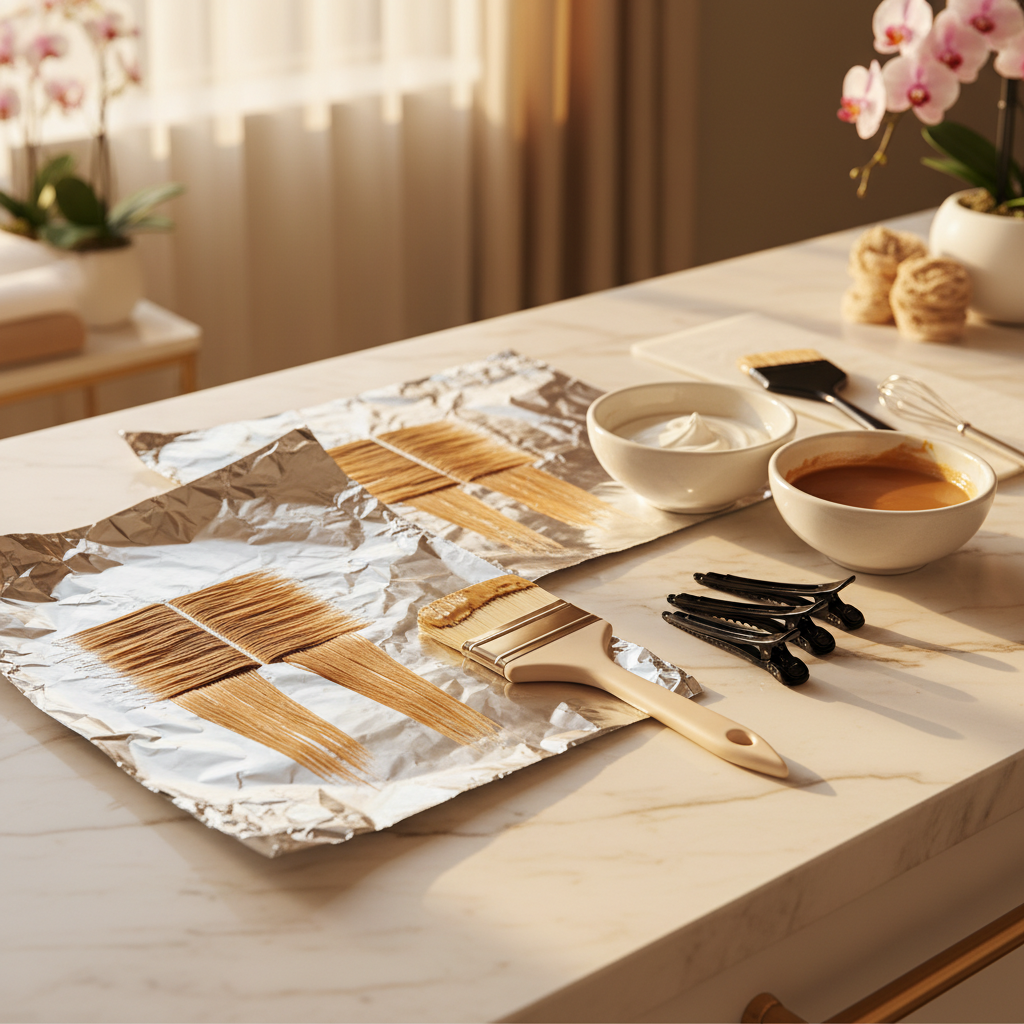
Application Process
Highlights:
- Mix bleach + developer
- Isolate strands (foil or open air)
- Apply from mids to ends, then roots
- Monitor development (15-45 min depending on goal)
- Tone after lightening
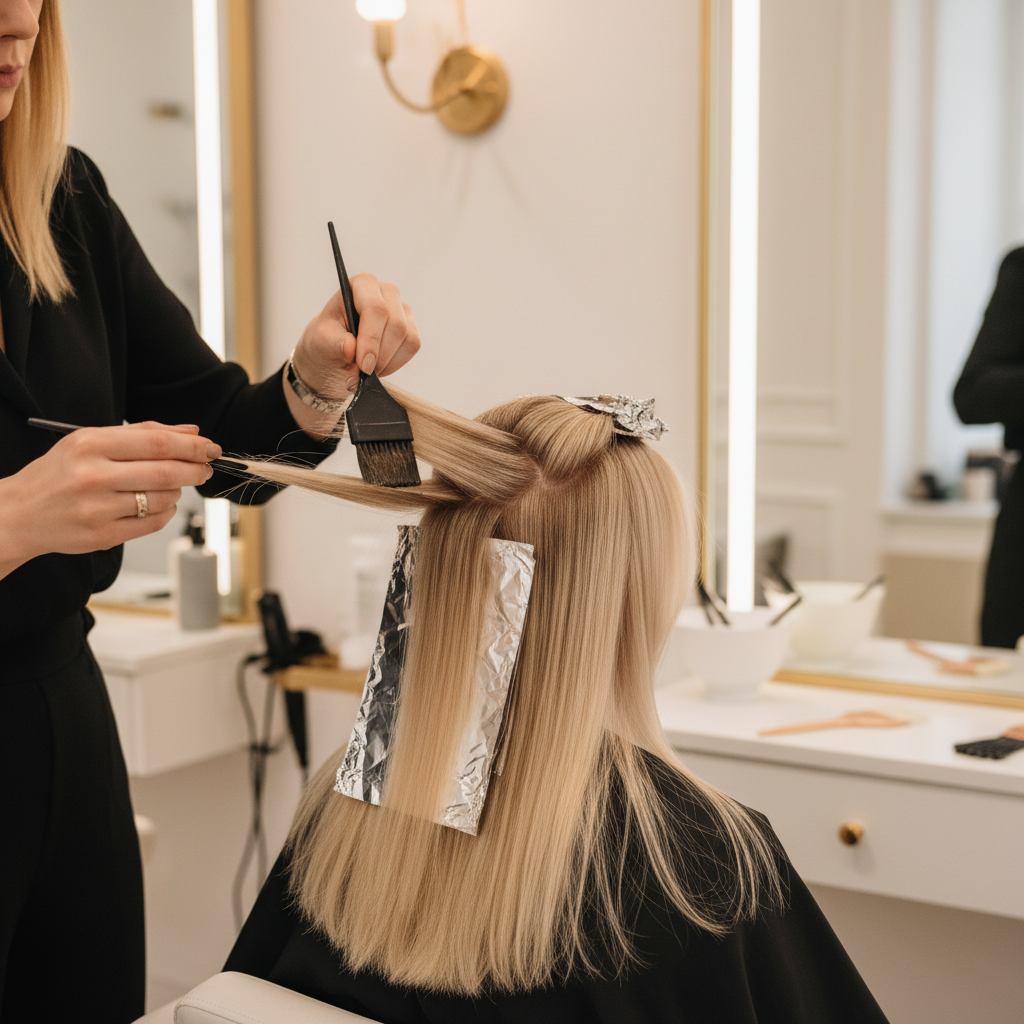
Lowlights:
- Mix color + low-volume developer
- Isolate strands (usually with foil)
- Apply from roots toward mids (not always ends)
- Faster processing (20-35 min)
- No toning required
Visual Result
Highlights create upward contrast from the base level. On level 6 hair, highlights can reach level 9-10.
Lowlights create downward contrast. On that same level 6 hair, lowlights would be at level 4-5.
The key is that both work from the same reference point but in opposite directions.
When to Use Highlights vs Lowlights
The choice depends on your client’s goal and the current state of their hair.
Use Highlights When:
| Situation | Highlights? | Reason |
|---|---|---|
| Dark base wants to lighten | Yes | Only method to lift level |
| Wants more facial luminosity | Yes | Face framing with light |
| Dull, lifeless hair | Yes | Adds reflections and shine |
| First time wanting change | Yes | Visible, satisfying result |
| Has few scattered grays | Yes | Camouflages by blending |
Use Lowlights When:
| Situation | Lowlights? | Reason |
|---|---|---|
| Blonde looks flat | Yes | Breaks monotony |
| Over-processed blonde | Yes | Anchors without more damage |
| Wants to blend grays (>30%) | Yes | Integrates into tonal variation |
| Balayage too uniform | Yes | Restores depth |
| Wants low maintenance | Yes | Fades naturally |
Cases Where NOT to Use Each Technique
Don’t use highlights:
- On very damaged hair (prioritize health)
- If client can’t maintain touch-ups
- When the goal is only depth
Don’t use lowlights:
- If client wants to lighten their base
- On already very dark hair (no contrast)
- As the only service on very light bases
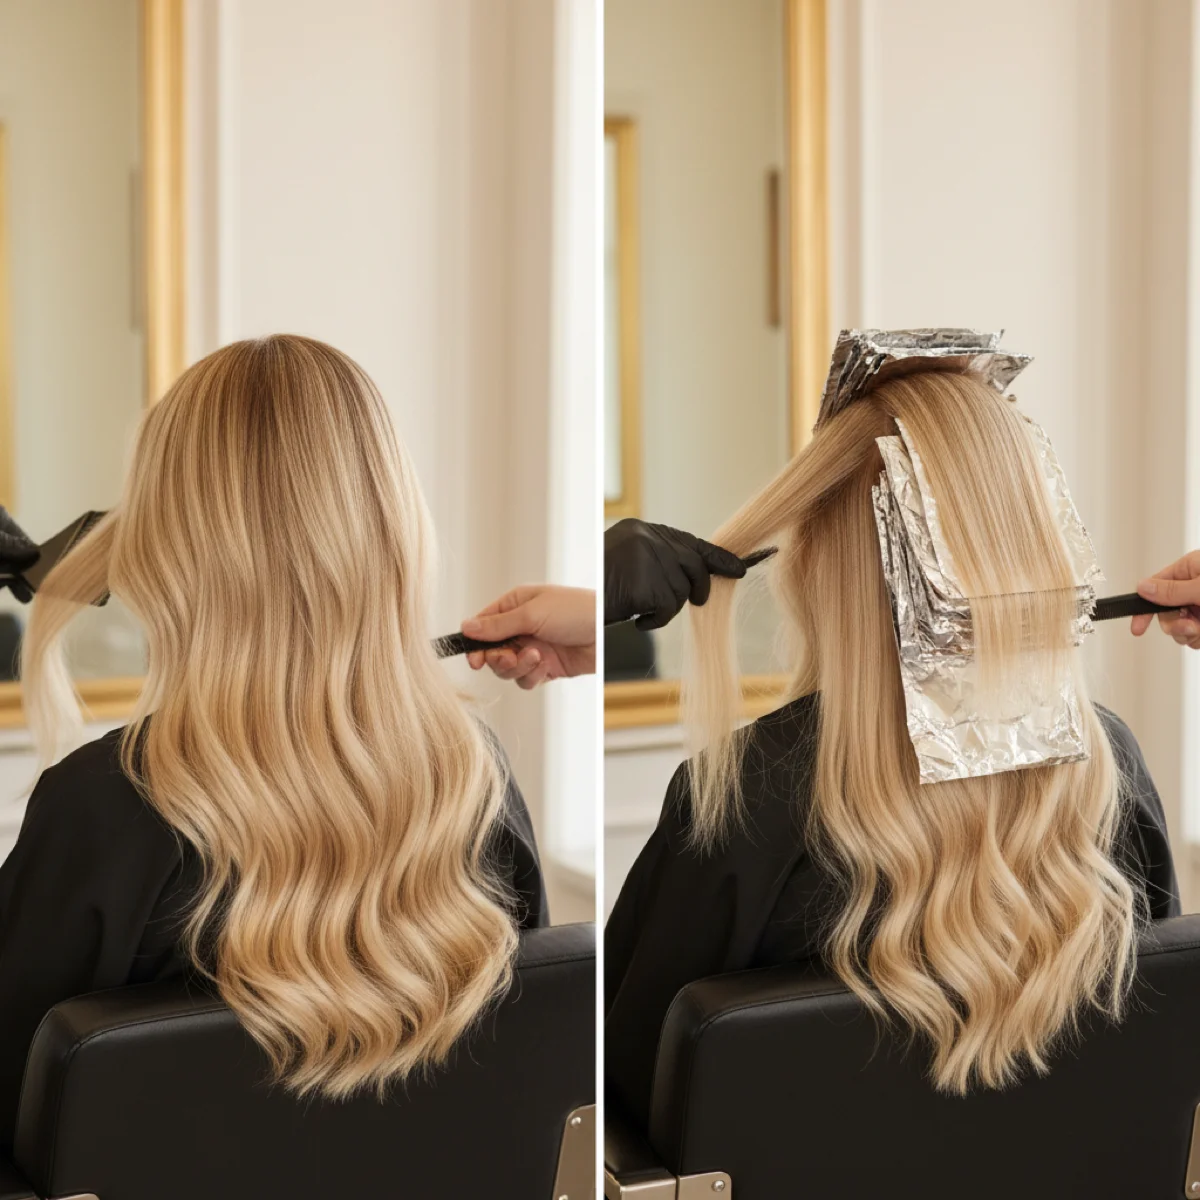
How to Combine Highlights and Lowlights
The best multidimensional results come from using both techniques in the same service. This combination creates the three-dimensional effect that neither technique achieves alone.
Strategic Distribution
The key is placing each technique where it has the most impact:

| Zone | Ideal Technique | Reason |
|---|---|---|
| Face frame | Highlights | Illuminates the face |
| Crown | Highlights | Captures natural light |
| Nape | Lowlights | Natural shadow zone |
| Inner layers | Lowlights | Depth when moving |
| Part line | Both | Maximum dimension |
Recommended Proportion
For a balanced result:
- More brightness desired: 70% highlights / 30% lowlights
- Natural balance: 50% highlights / 50% lowlights
- More depth: 30% highlights / 70% lowlights
Pro tip: For blonde clients complaining of “flat” hair, they often only need lowlights. More highlights isn’t always the solution.
Application Order
- First highlights: Apply and let process partially
- Then lowlights: While highlights process or after rinsing
- Alternative: Apply both simultaneously in different foils
Simultaneous technique requires more experience but saves time.
Formulation for Each Technique
Highlights - Formulas by Goal
Subtle highlights (2-3 levels of lift):
Bleach + 20 vol Developer
Ratio: 1:2
Time: 25-35 min
Intense highlights (4+ levels):
High-lift bleach + 30 vol Developer
Ratio: 1:2
Time: 35-45 min (monitor closely)
Lowlights - Formulas by Base
For level 8-10 blondes:
Color 7N + 7.1 (2:1) → ash lowlight
10 vol Developer
Time: 20-25 min
For level 5-7 brunettes:
Color 5N + 5.3 (1:1) → natural golden lowlight
20 vol Developer
Time: 25-30 min
For a better understanding of developers, check our guide on developer volumes.
Common Mistakes When Combining Highlights and Lowlights
1. Lowlights Too Dark
The mistake: Using a shade 4-5 levels darker than the base.
The consequence: Dark spots that look like dirt, not dimension.
The solution: Maximum 2-3 level difference for natural lowlights.
2. Highlights in Shadow Zones
The mistake: Placing light strands at the nape or under layers.
The consequence: Brightness where there should be depth, unnatural result.
The solution: Highlights in natural light zones (crown, face frame), lowlights in shadow zones.
3. Incorrect Proportion
The mistake: Too many highlights without lowlights on blondes.
The consequence: Uniform, flat, lifeless “helmet” effect.
The solution: Always add lowlights to anchor and add depth, especially on very lightened blondes.
4. Not Considering Maintenance
The mistake: Highlights very close to the root without planning touch-ups.
The consequence: Visible regrowth in 4-6 weeks, dissatisfied client.
The solution: Blended root techniques (shadow root, teasylight) or plan a touch-up schedule.
Frequently Asked Questions
Can You Do Highlights and Lowlights in the Same Appointment?
Yes, and it’s one of the most requested combinations. Simultaneous application creates immediate dimension. The complete process typically takes 90-120 minutes. Apply highlights first so they have time to process, and add lowlights while waiting or after rinsing.
Which Technique Damages Hair More?
Highlights cause more damage because they use bleach that breaks keratin bonds. Lowlights are significantly less aggressive because they use color that deposits pigment without destroying the structure. On already processed hair, prioritize lowlights to add dimension without adding damage.
How Often Do You Touch Up Highlights vs Lowlights?
Highlights need touch-ups every 6-8 weeks because natural regrowth creates a visible demarcation line. Lowlights last 8-12 weeks visibly and fade gradually without a marked line. That’s why lowlights are ideal for clients who want low maintenance.
Can I Convert Highlights into Lowlights?
Yes. If a client has highlights they no longer want, you can darken them with color to convert them into lowlights. Be careful with porosity: bleached hair absorbs more pigment. Use semi-permanent color first to test the result, and permanent only if you’re sure of the final tone.
What’s Better for Blending Gray Hair?
It depends on the gray percentage. For less than 30%, highlights work by camouflaging grays among light strands. For more than 30%, lowlights integrate grays into a general tonal variation that looks natural. Combining both gives the best results on scattered grays.
In Summary
Highlights and lowlights are complementary techniques that work together to create real dimension:
- Highlights: Lighten, illuminate, add shine in light zones
- Lowlights: Darken, deepen, create shadow in inner zones
- Combined: Three-dimensional effect neither achieves alone
- Distribution key: Highlights on top/front, lowlights underneath/back

Mastering when to use each technique and how to combine them allows you to offer personalized services that truly transform your clients’ hair.
Want to calculate precise formulas for highlights, lowlights, and their combination? Try Blendsor free. The AI analyzes your client’s hair and suggests the optimal formulation for each technique.
This article is part of our complete guide to professional coloring techniques. Also explore our detailed lowlights step-by-step guide and the differences between balayage vs traditional highlights.
Related articles
Practice with our free tools
Calculators, neutralization wheel, AI consultation...
Master this technique with exact formulas
Blendsor generates the precise formula for each technique with your brand products. Try the mix calculator or download the app.
Download free